

This post may contain affiliate links, please read myprivacy policy.
As an Amazon Associate, I earn from qualifying purchases.
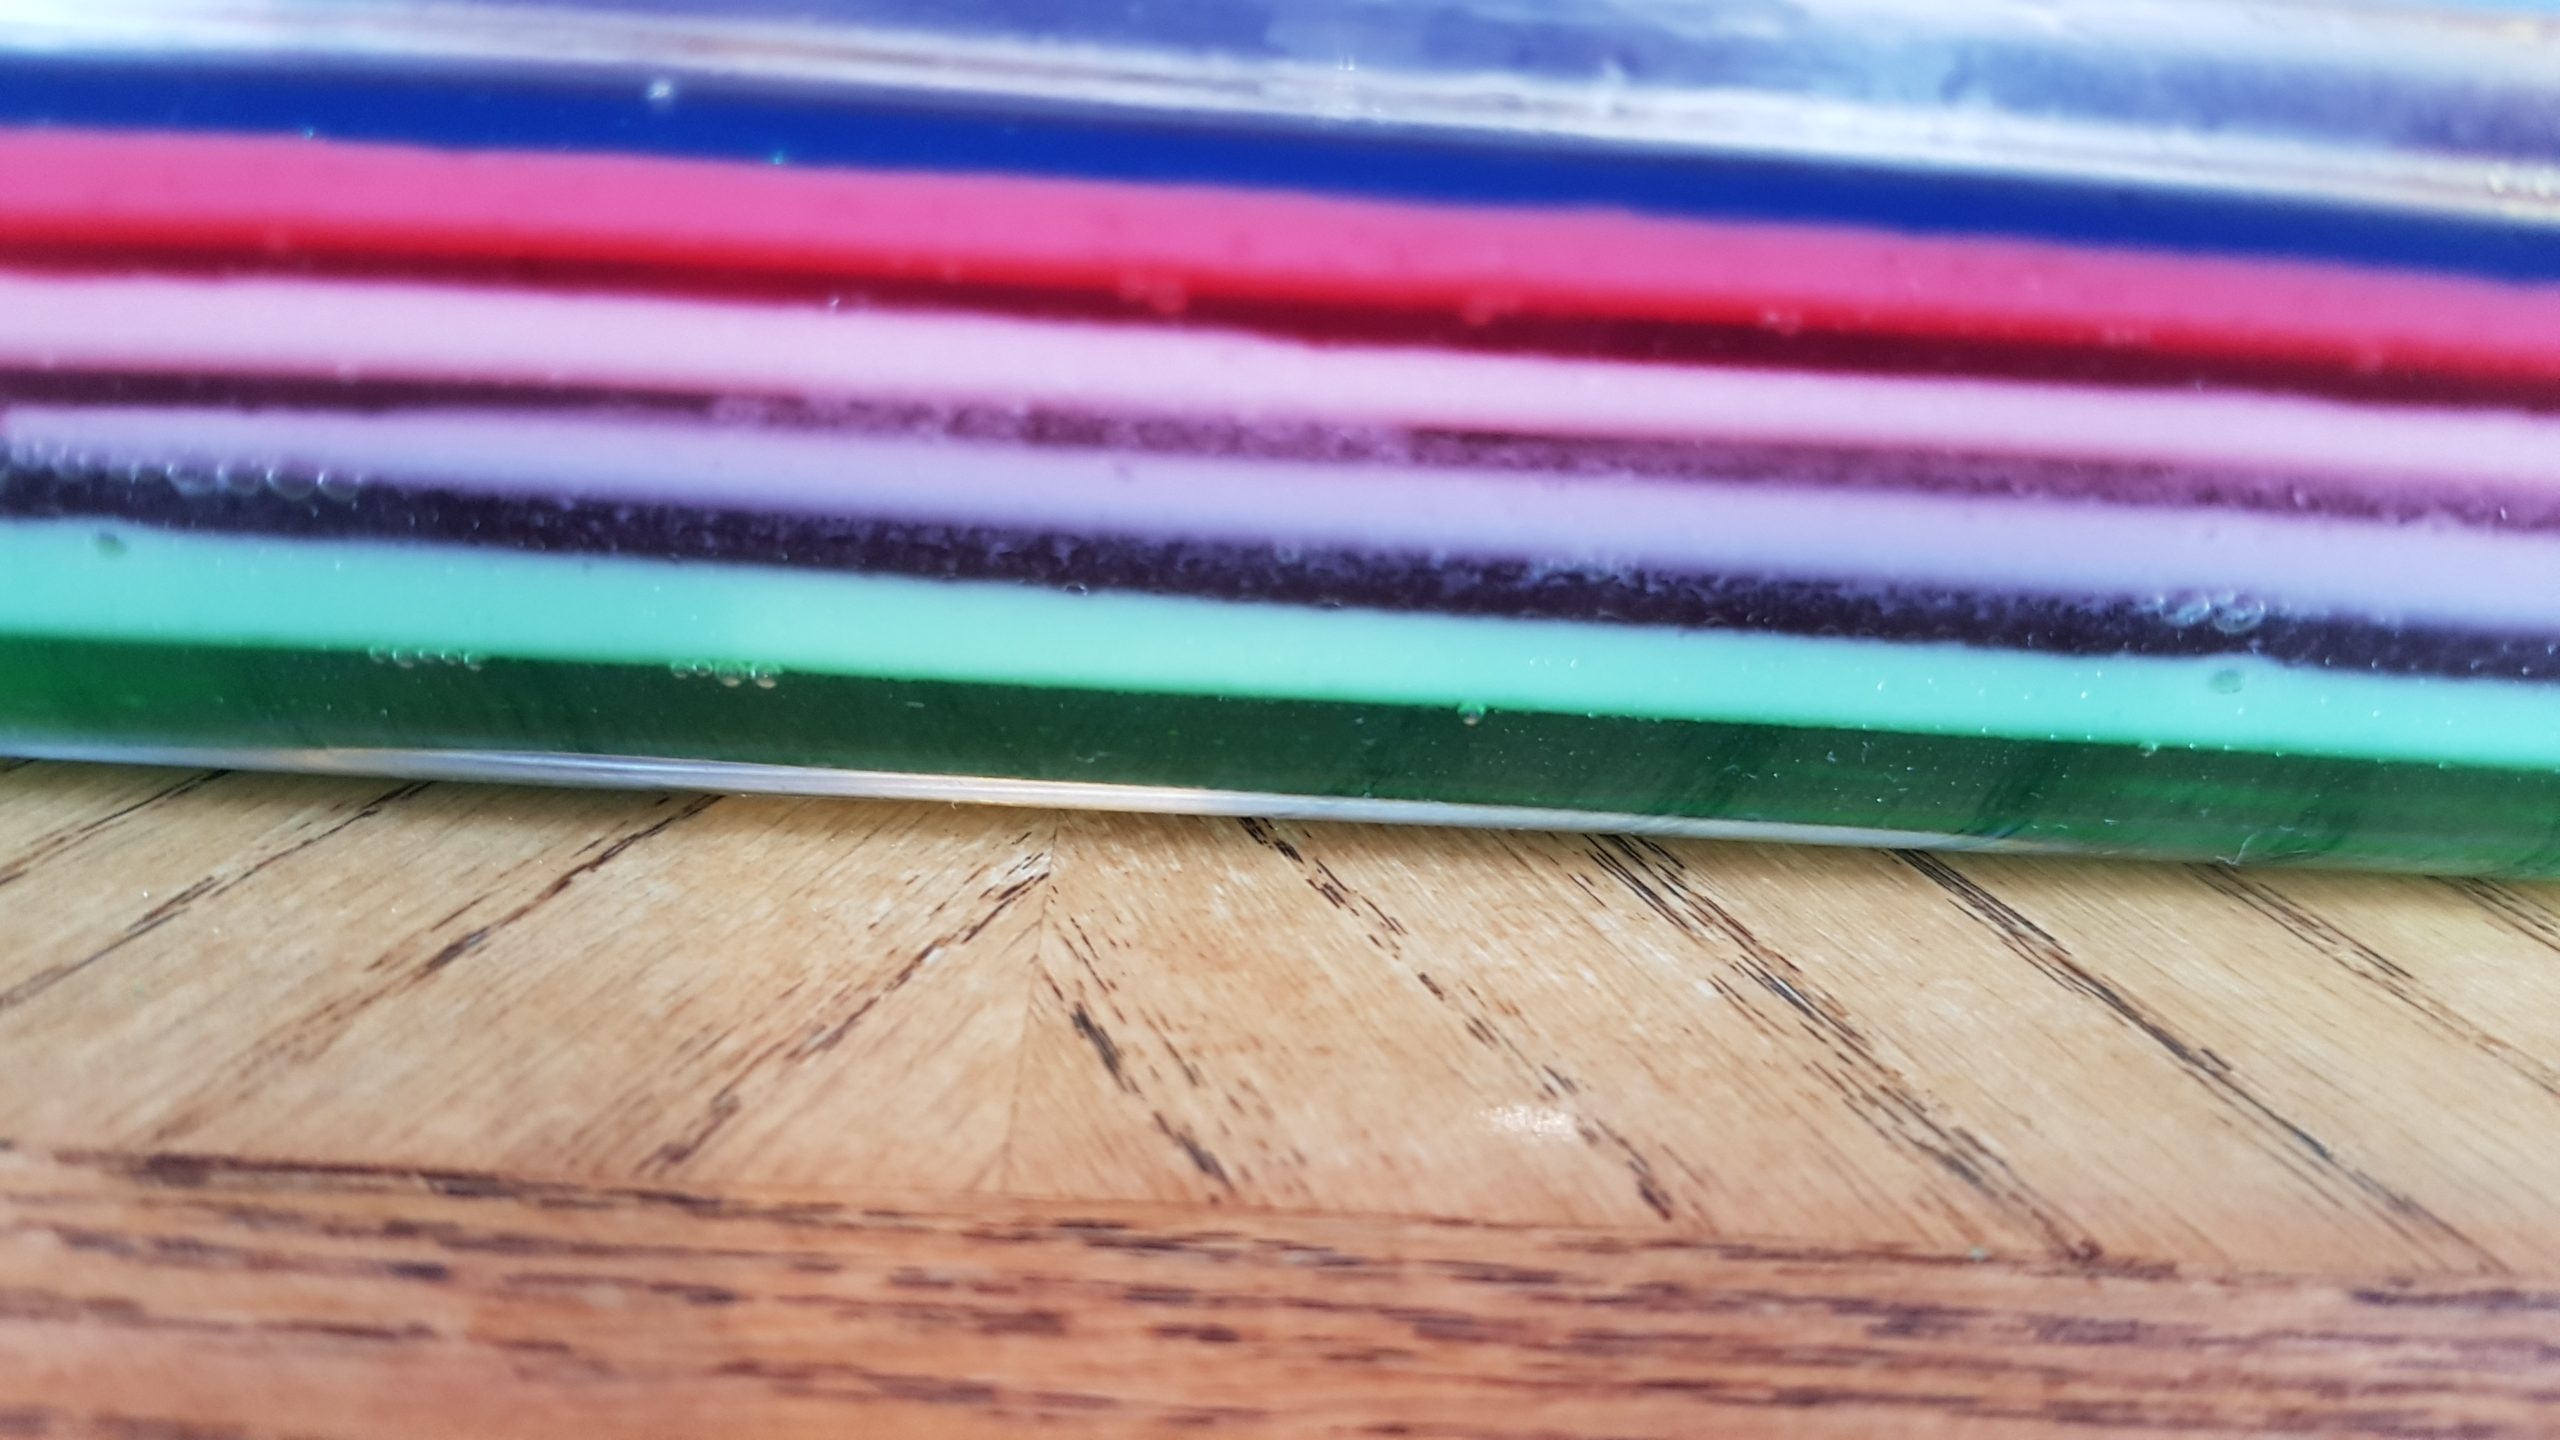
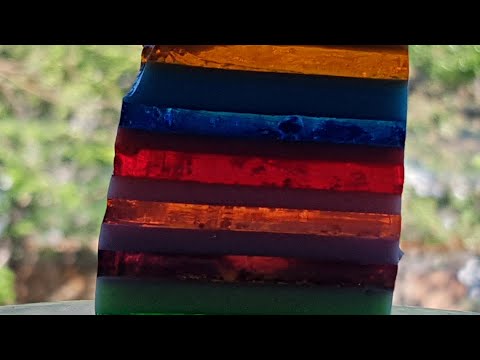
Layered Rainbow Jello recipe, made with only 3 ingredients! This recipe is super simple, using only evaporated milk, jello and water. There is no messing around with gelatin, just boiling the water and mixing. This easy recipe does require patience, as it can take all day for the many layers!

My mom used to make layered jello for potlucks, parties, or large gatherings. She followed an old fashioned recipe, which used sour cream in the rainbow jello layers. I like to simplify recipes if possible, so use evaporated milk. Also, the sour cream did give the jello a distinct taste which some people did not prefer.
History of Jell-O
Jell-O is a brand name for many different gelatin products. Originally, homemade gelatin was made by boiling the bones of animals. This method of aquiring gelatin was around for centuries. The brand Jell-O was invented in 1897 by a former cough syrup manufacturer and his wife. He then sold the company to his neighbor in 1899 for $450. To find out more, and how Jell-O became a popular and successful brand, read:History of Jell-O by Just A Pinch.

I have made this Layered Rainbow Jello recipe through the years for birthday parties, potlucks, and picnics. It’s always a hit with both young and old. I myself happen to like this tasty jello treat a lot more than plain jello! Even though this recipe takes time, it is very, very simple to make. The time is just waiting for each layer to set up. But, if you’re home anyway, you can do other things while waiting for the layers to set up.

Totally Customizable
The really neat thing about this layered jello recipe is that you can use whatever colors of jello you want to customize this recipe for any event. For Christmas, use red and green, for Easter, use pink, blue and green. Or just use red and pink variations for Valentine’s Day and green variations for St. Patrick’s Day. The color combinations are only limited by your imagination.

Because I do not use extra gelatin in this recipe and it is finger jello, I use 1/2 of the liquid that each pack calls for. So, this does create a sweet jello treat, almost more of a delicious dessert! The fun of eating these scrumptious jello jigglers with your fingers far outweighs any concern over too much sugar!! Plus, I cut these in 1 inch squares so they are really small:-)

Ingredients for Layered Rainbow Jello
- Jello, I use 2 packs each of 5 different flavors if making this in a 9×13 inch pan. I used strawberry, orange, lime, blueberry, grape, and peach jello and used an 11×17 inch pan.
- Boiling water and cold water.
- Evaporated milk, 2 cans or about 3 cups.
How to Make Layered Rainbow Jello
1.Grease a 9×13 inch pan lightly with vegetable oil.

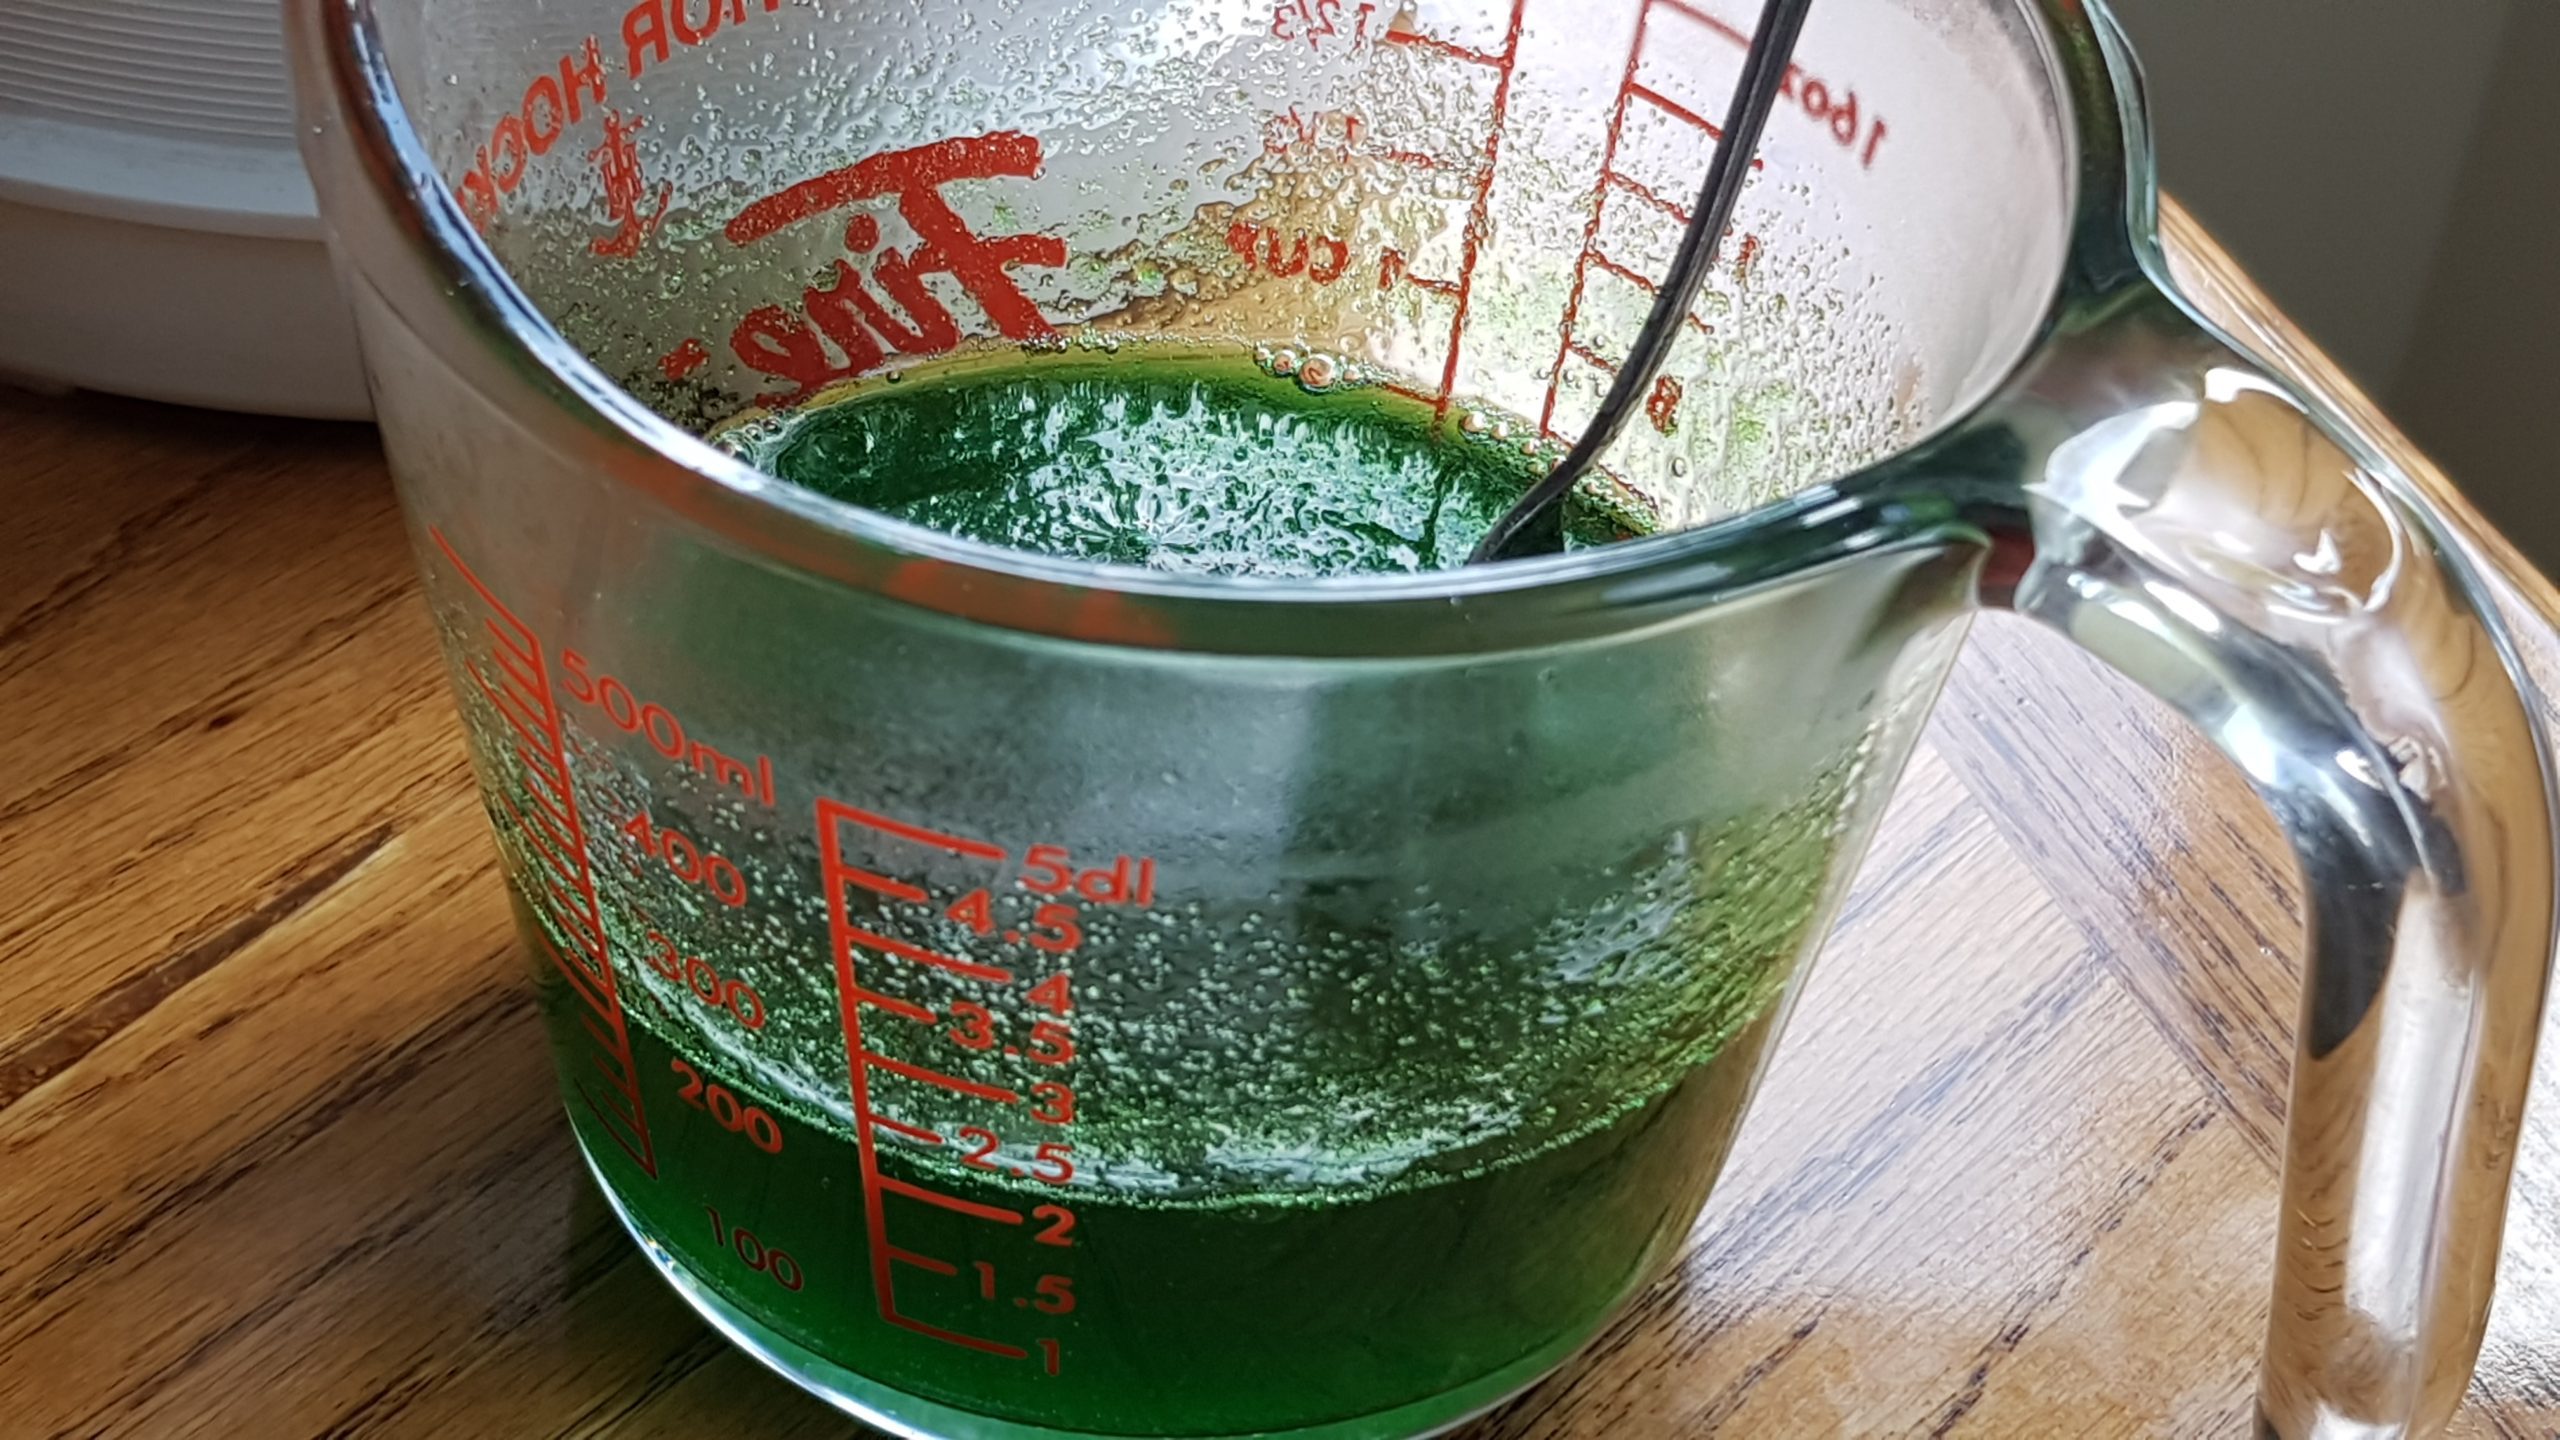
2.In a glass measuring cup, Pour 1 packet of jello, then add 1/2 cup of boiling water. Mix thoroughly. Add 1/2 cup of cold water, stir, then pour into prepared pan.

3.Chill for 30 minutes, until set. Start preparing the next layer a little before the first layer has set up.

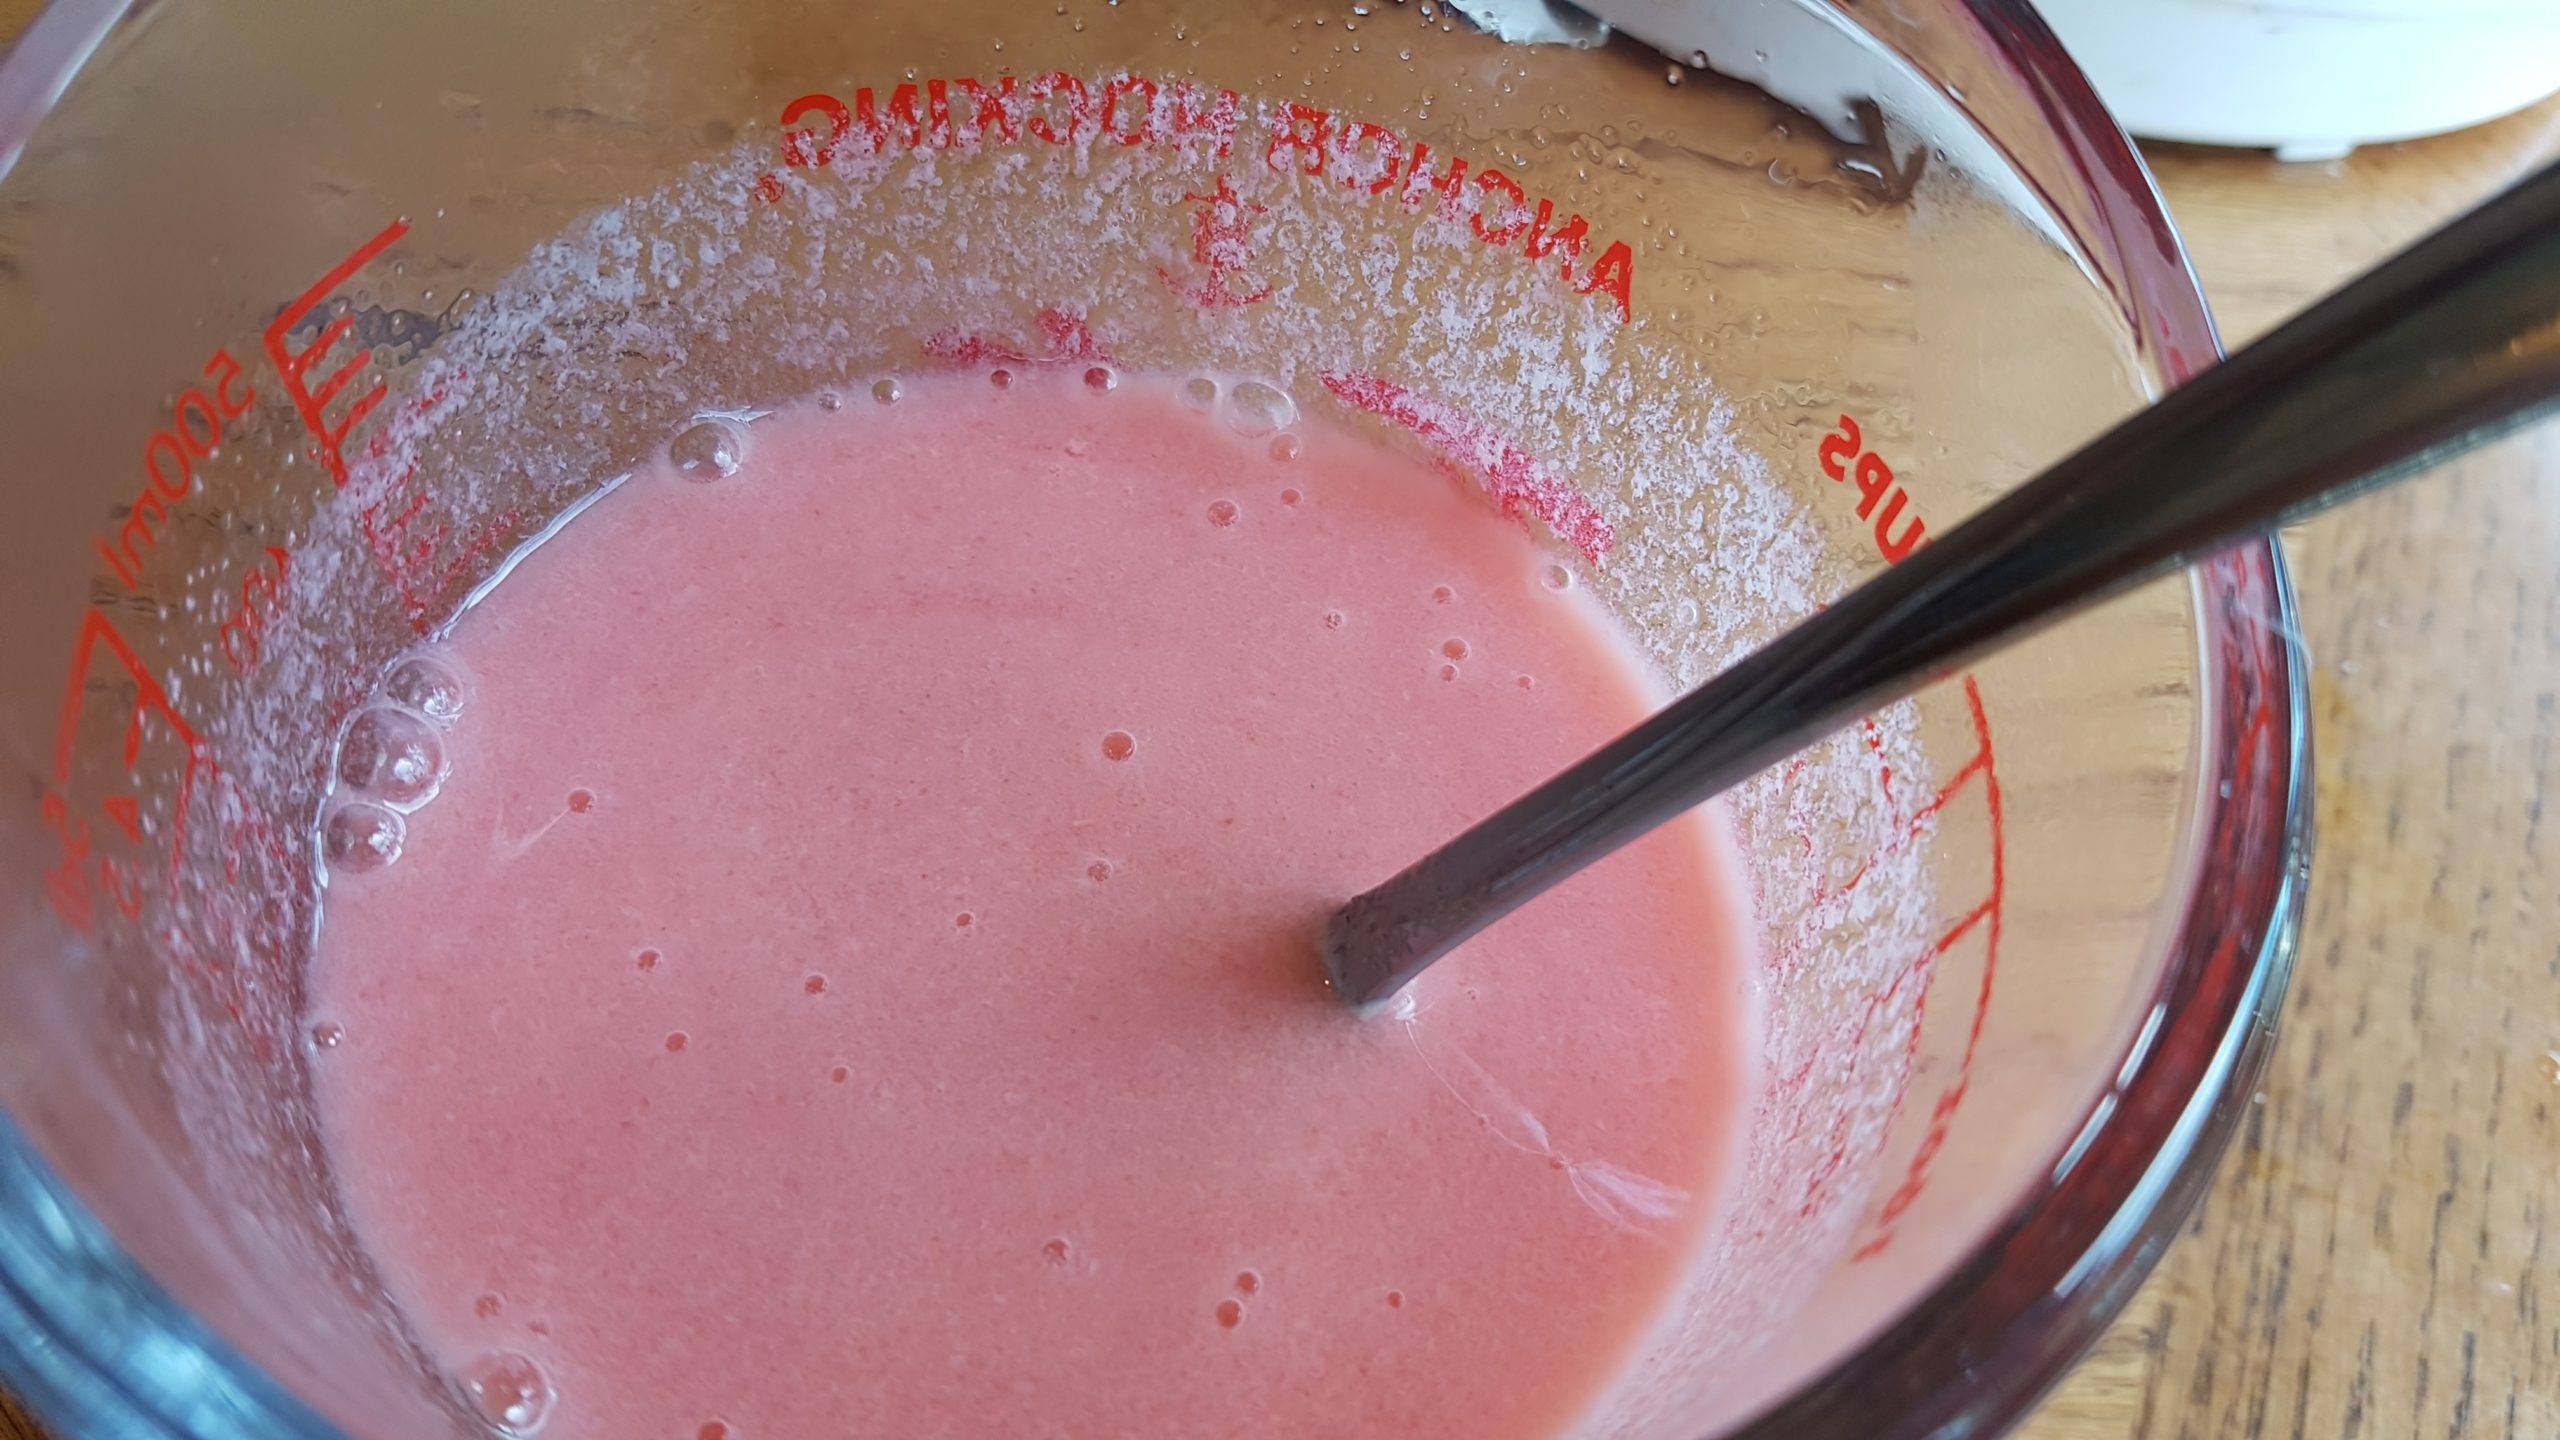
4.In the same glass measuring cup, mix the other jello packet with 1/2 cup boiling water and stir well. Add 1/2 cup of evaporated milk and stir.

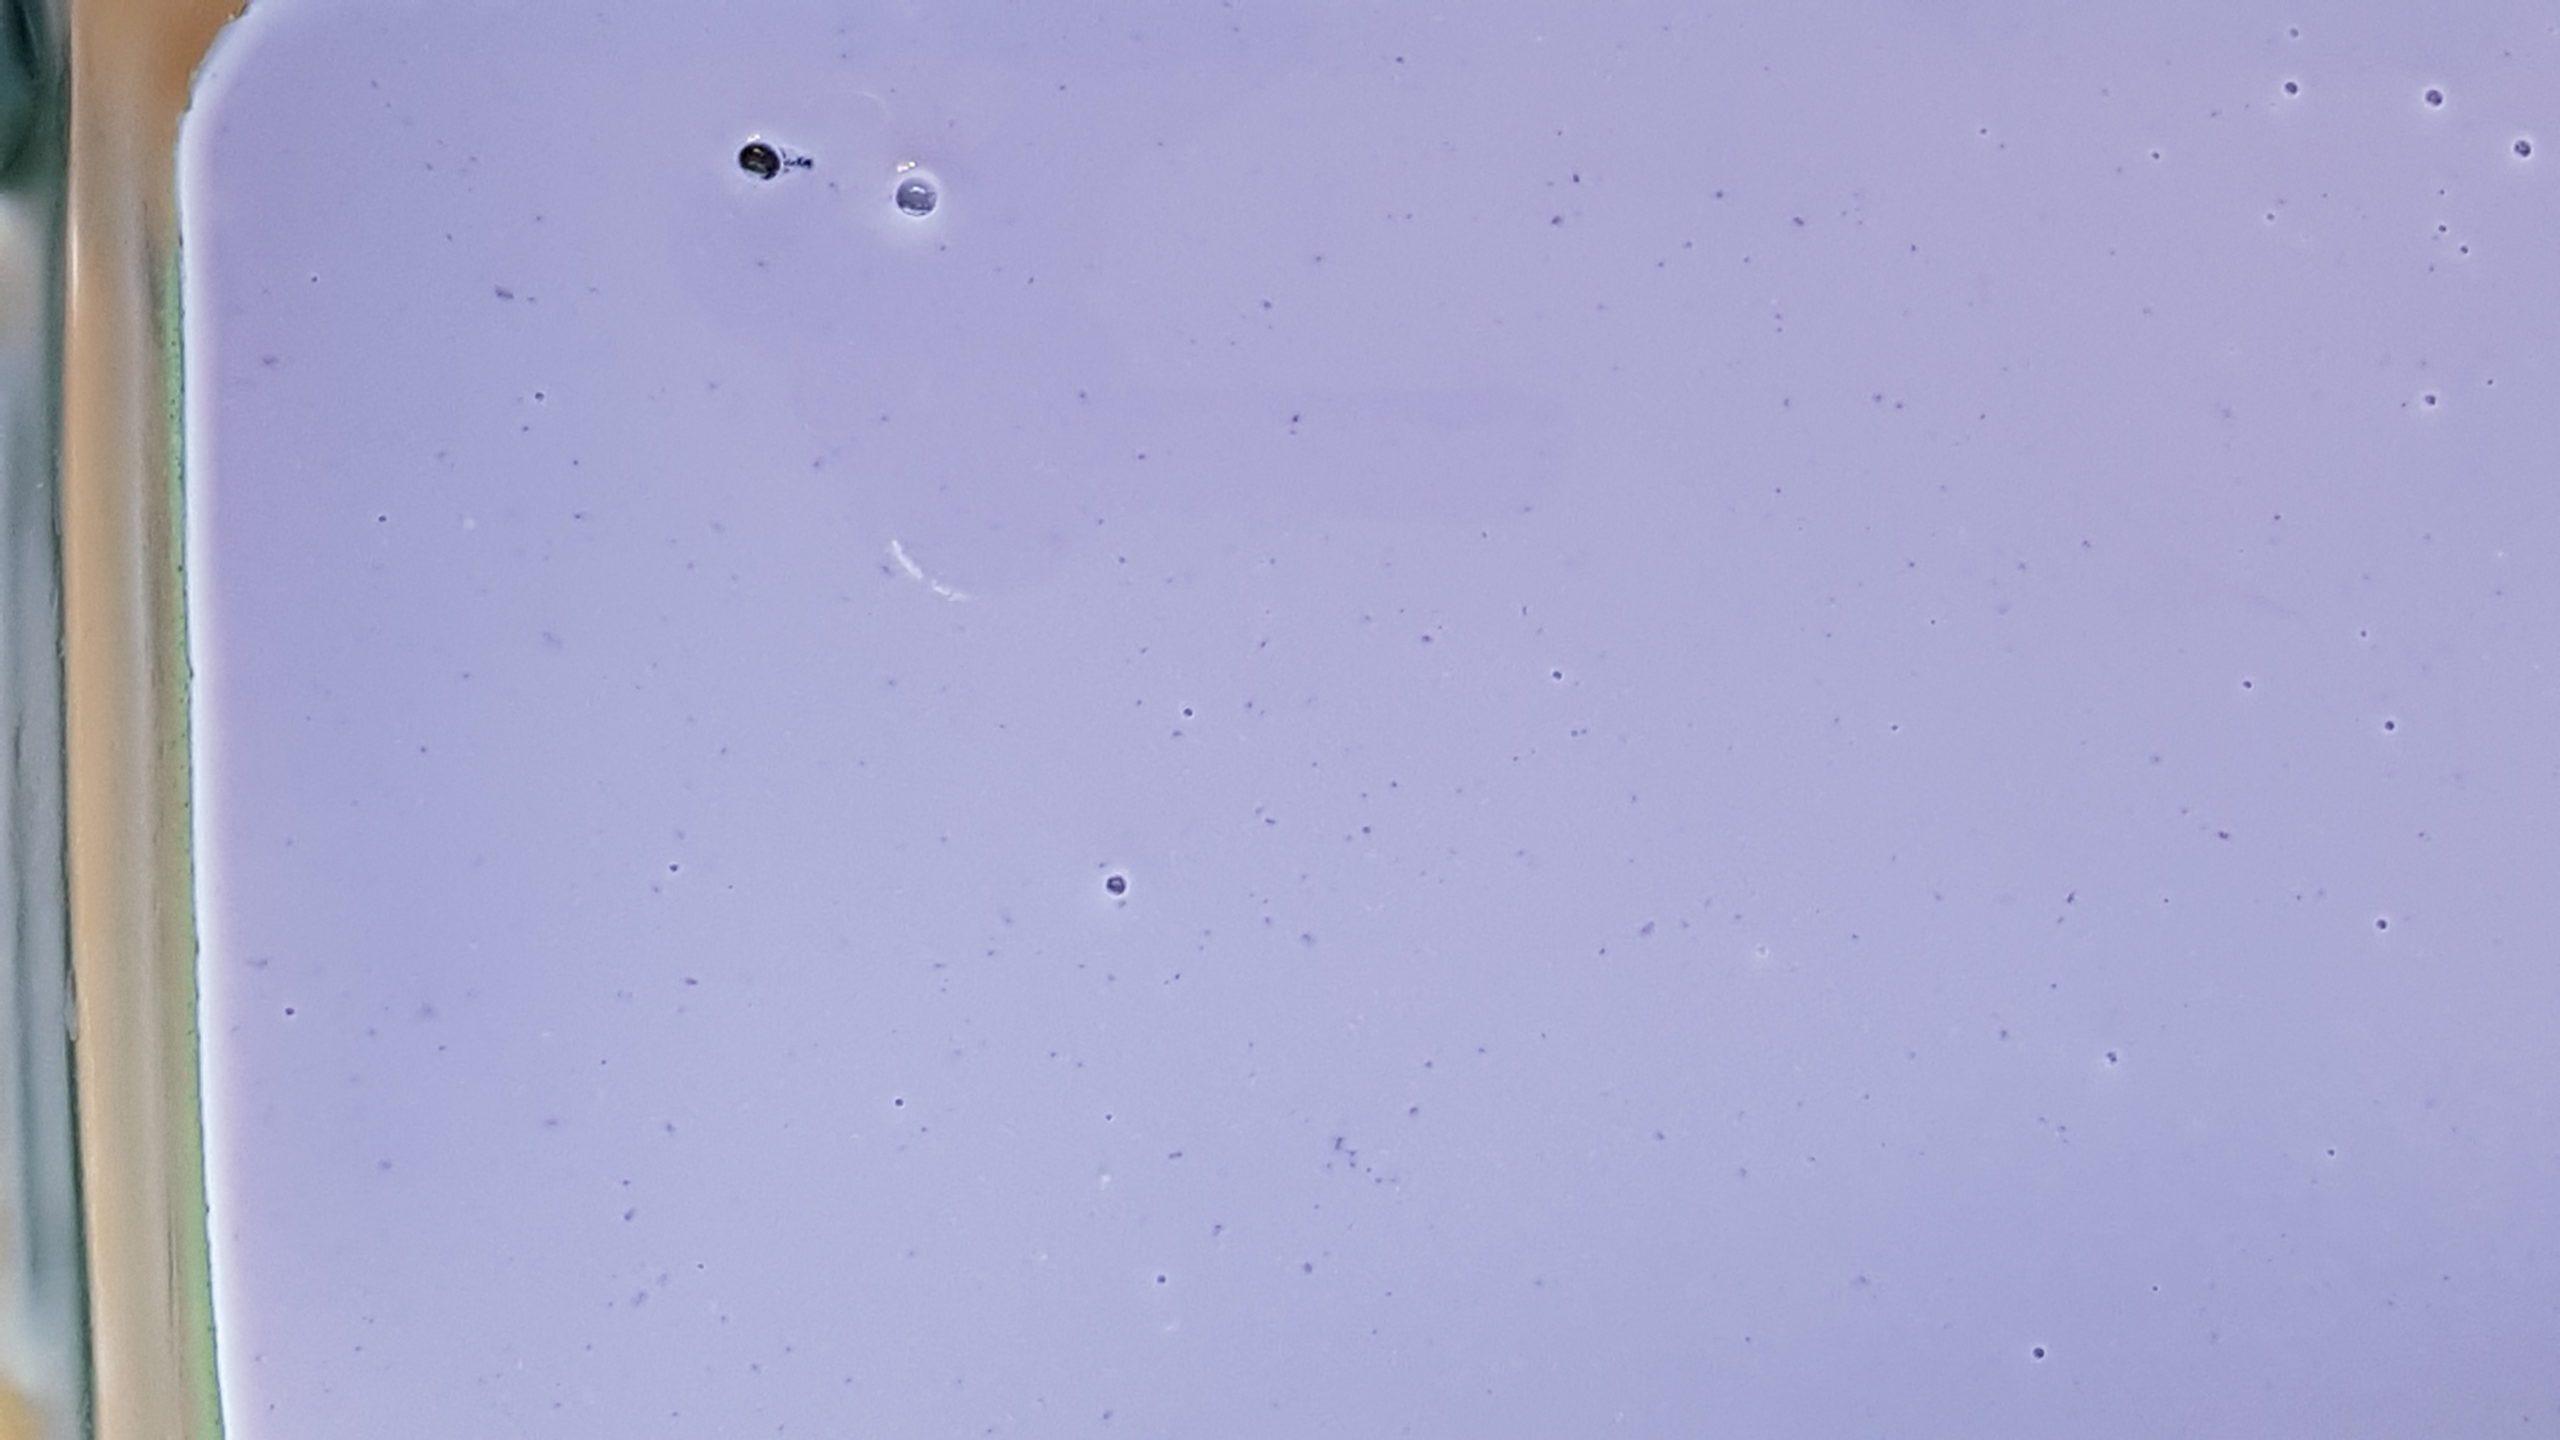
5.Pour gently over the layer of set jello. I pour over the back of a spoon so that it doesn’t make holes in the jello layer.

6.Chill for 25-30 minutes. I do find that the layers start setting up quicker after the first couple are done.
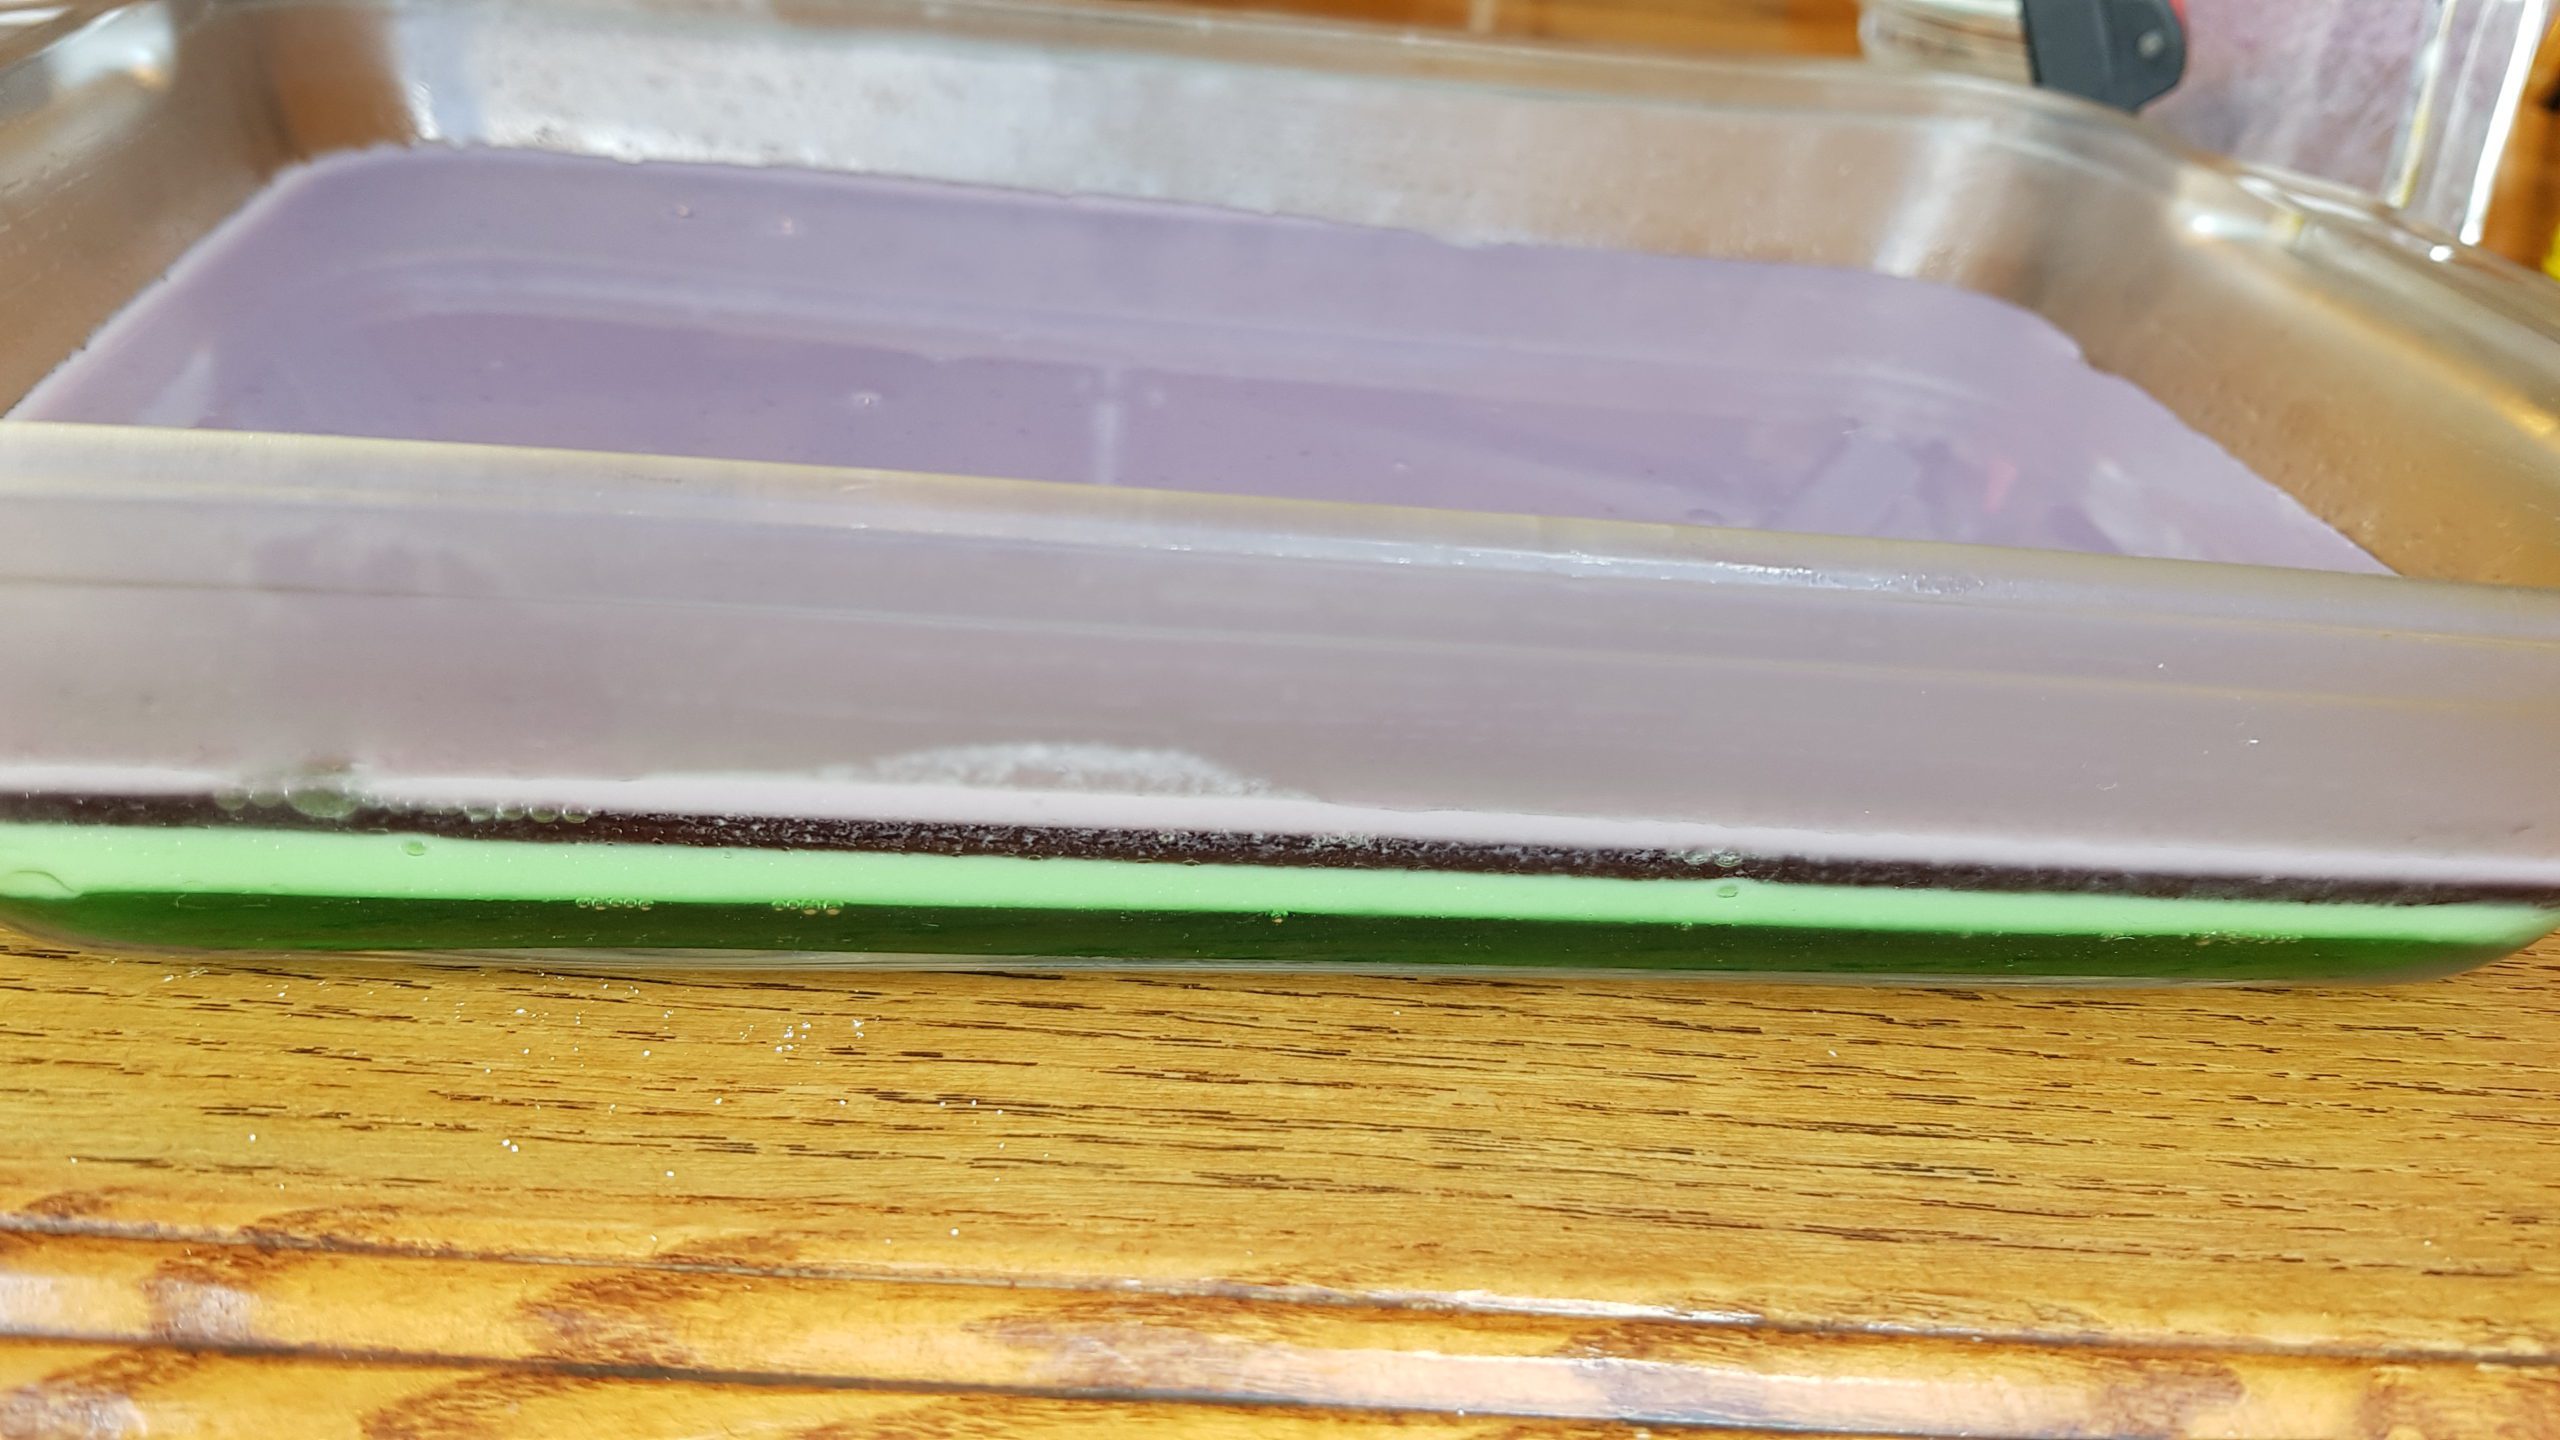
7.Repeat these steps with each color until you are finished.
For the last couple of layers, I pour them without moving the dish from the fridge because it gets too hard to carry without spilling.
Why You Will Love Layered Rainbow Jello Recipe
- Super impressive and colourful treat.
- Young and old alike cannot resist at least 1 piece on their plate.
- Can be made up to a few days ahead.
- Makes a large batch for potlucks, picnics, family gatherings, or snacks to last a week.
- Tastes absolutely scrumptious!
Other Great Recipes for Potlucks and Parties


Layered Rainbow Jello
Layered Rainbow Jello recipe, made with only 3 ingredients! This recipe is super simple, using only evaporated milk, jello and water. There is no messing around with gelatin, just boiling the water and mixing. This easy recipe does require patience, as it can take all day for the many layers!


Ingredients
Instructions
How to Make Layered Rainbow Jello
Grease a 9x13 inch pan lightly with vegetable oil. Then, in a glass measuring cup, Pour 1 packet of jello, then add 1/2 cup of boiling water. Mix thoroughly. Add 1/2 cup of cold water, stir, then pour into prepared pan.

In the same glass measuring cup, mix the other jello packet with 1/2 cup boiling water and stir well. Add 1/2 cup of evaporated milk and stir.
Pour gently over the layer of set jello. I pour over the back of a spoon so that it doesn't make holes in the jello layer.
Chill for 25-30 minutes. I do find that the layers start setting up quicker after the first couple are done.
Repeat these steps with each color until you are finished.
For the last couple of layers, I pour them without moving the dish from the fridge because it gets too hard to carry without spilling.
Nutrition Facts
Servings 59
- Amount Per Serving
- Calories 48kcal
- % Daily Value *
- Total Fat 0.02g1%
- Sodium 62mg3%
- Potassium 28mg1%
- Total Carbohydrate 10g4%
- Protein 1.4g3%
* Percent Daily Values are based on a 2,000 calorie diet. Your daily value may be higher or lower depending on your calorie needs.
Note
To pop air bubbles, use a toothpick before the jello sets.
Place the pan on a flat shelf in the refrigerator. Make sure it doesn't slant.
I only prepare each layer when the one before is almost finished setting up.
To lower the risk of spilling, add the last couple of layers while the pan is in the refrigerator.
Do not cover the Layered Rainbow Jello with plastic wrap until it has completely set.
Make sure your water is boiling and you stir it really well to dissolve the gelatin before adding the cold liquid.

I did the dairy free verision of this recipe using almond milk and it still turned out great and tasted no different! 🙂
Wow, thanks for letting me know! So glad you liked it. It’s great to have a dairy free version of this favorite!